When you live with someone who has a trunk obsession, you might one day find an ugly, ugly, ugly hot pink cedar chest sitting in your living room. Now, because you have taste (and they do too thankfully), the only way this atrocity can stay is if you take it back to its original wooden self. Bring. It. On.
Before I get started though, let me warn you that this is not so much a DIY instructional as it is story time: the trials and tribulations of someone who’s just gonna do stuff and hope for the best.
The paint job was straight up shit. Bad paint jobs mean one of two things: either the previous owner was a crap painter or they were trying to cover something up. You never know what you’re going to find, but with the beautiful, untouched cedar wood visible inside, there was a very good chance that treasure lay beneath.
The Stripping
First I wiped the chest down with Murphy’s Oil Orange Multi-Use Wood Cleaner Spray (think Windex for wood). The goal wasn’t to clean it, just to get the crusty chunks of dirt off. I decided to start with the back of the trunk, figuring this is where I’d do the least damage if things went awry. In lieu of the regular, noxious smelling paint stripper I’d used years ago, I decided to try Citristrip because it claimed to be low on fumes yet high on results (since my work space was doubling as my living room).
The basic idea behind all paint strippers is that you apply a coat on top of the paint, wait, and then scrape the paint off. I poured out the Citristrip (which has the consistency of melted Gak) smeared it around, poured some more and smeared again. The directions suggested using a paintbrush, but I opted to finger paint with a pair of rubber gloves. And then I waited the requisite 30 minutes for it to do it’s mojo (and another 10 because, well, I forgot to check on it).
 |
 |
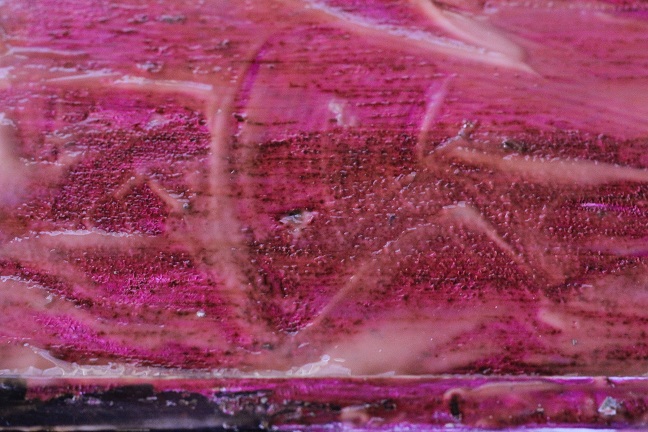 |
With Citristrip, you don’t see the paint bubble up like you do with the oh-so-fun smelling stuff, but the paint will discolor enough to let you know it’s working. You can keep it stripping for up to 24 hours, though I never left it on more than two. But the thicker it is and longer you leave it, the easier the paint scrapes.
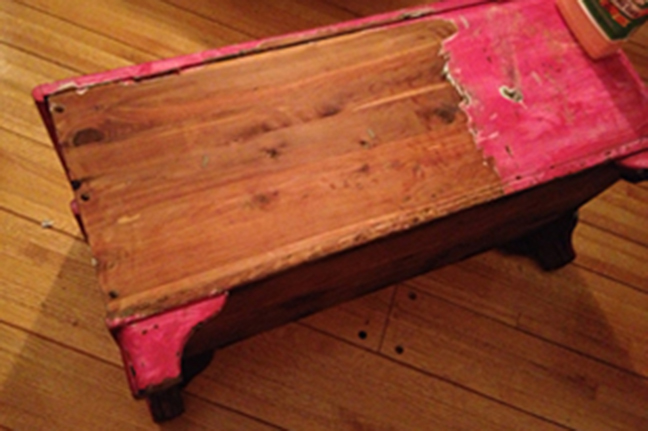
I used a 3” putty knife to scrape. I tried to follow the grain, scraping in one direction for the longest possible pass so that most of the paint ended up on my putty knife. Then I wiped it off on a paper towel, threw it into a plastic bag, and got ready for the next long swipe. Most of the paint scraped off like buttah. For the paint stuck in cracks and gouges, I used Ikea’s curved paring knife. Beware: aggressive scraping leads to wood shavings. If (and when) I saw strips of wood peeling off, I stopped and moved on.
 |
 |
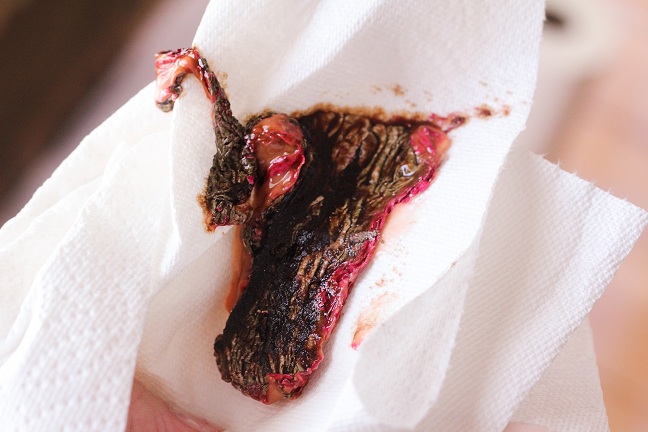 |
Because I was only working on a modest sized towel, and I like my furniture and my shiny hardwood floor, I had to be very careful about dripping and spraying. This meant I could only strip one side at a time instead of doing the whole thing at once.
The Scrubbing
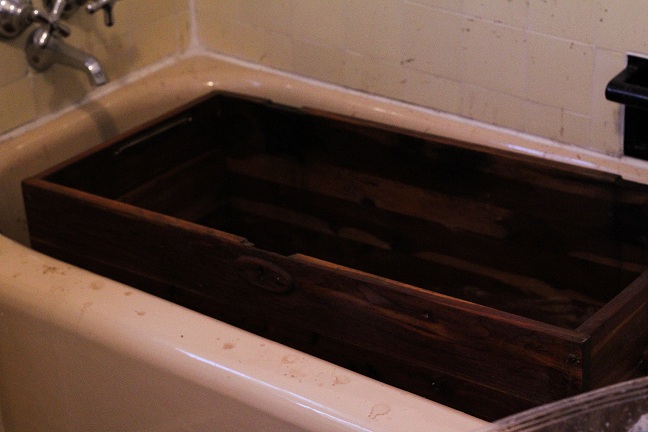
Even after you scrape off most of the paint, there’s still a goopy, residue left on the wood that just smears if you try to wipe it up with a paper towel. In my head this gunk was full of stripping chemicals that were going to hurt the cedar if they stayed caked on. So I washed each side individually after I stripped it and then I threw it in the bathtub (where it fit perfectly) to scrub it some more.
 |
 |
Originally I was using the Orange Cleaner spray with grade #00 steel wool (steel wool comes in several grades). But by the time I’d stripped 3 sides, I only had a 1/4 of the orange spray bottle left, so I moved on to the more economical Murphy’s Original Oil Soap. The steel wool not only picks up the gunk left by the paint stripper, but it also acts as a gentle sander. Unfortunately, the #00 was just a bit too fine which meant it would get matted with all the crud much more quickly. I almost went through the whole 12 pack, hence switching to the coarser grade #1 steel wool which was much better at lifting up stubborn paint.
The advantage of doing this in a bathtub (or if you’re lucky enough to be outside near a hose) is that there’s a constant supply of water and boy oh boy did that liquid blacken. The water that came off was nasty (a putrid diarrhea color) and it sprayed everywhere. Good news was that it smelled nice. It was probably in the bathtub for hour until the water finally ran beige.
The Sanding (or My Big Mistake)
I left the trunk to dry overnight and when I woke up in the morning it looked awful. I have scrubbed this thing to an ashy death, killing all the potential I spent hours scraping and scrubbing into existence… not really, but it felt like it. Having already read things like this, I was aware that this was another step in the process but it wasn’t any less horrifying.
 |
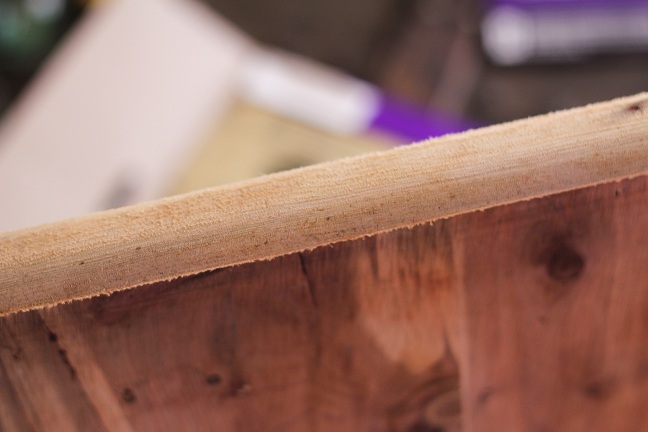 |
My naivety led to me to think that all the ashy discoloration would simply go away with some oil and that sanding was only for the rough patches. The wear and tear was cool, why sand that away? So I gave it a mild sanding with some 320 grit sandpaper (yes, sandpaper has grades too) and then I moved on to oiling. In retrospect, this was my big mistake, but more on that later. The only thing I actually sanded was the trim because it had this funky peach fuzz going on along with a faint greenish hue left by the original olive colored paint.
The Finish (But Not Really)
Now for what felt like the daunting part: choosing a finish. There were way too many choices, but I surmised the standards were oil, varnish, shellac and laquer. My biggest concern was ease-of-use in a small space, but I also wanted a natural shine, not a plasticy one, so I went with oil.
Typical oil finishes are Danish Oil, Teak Oil, Tung Oil and Linseed Oil. I didn’t want to stain the cedar wood, I just wanted to, ya know, “moisten” it. Linseed was crossed off simply because none of the pretty, DIY blog posts I’d read used it, Danish oils usually have some stain and other chemicals in them, and Teak tends to darken the wood, so the last man standing was: Tung Oil.
Turns out most stores don’t sell the real stuff (the one I found at Home Depot was a Tung “finish” that had more chemicals than oil in it) so I ended up buying Hope’s 100% Tung Oil from Amazon.
I snapped the rubber gloves back on, poured the honey-like oil on a rag (the size of a wash cloth courtesy of an old towel) and rubbed it in. The smell wasn’t amazing (burnt chestnuts?) but tolerable. I did two coats and let it dry.
 |
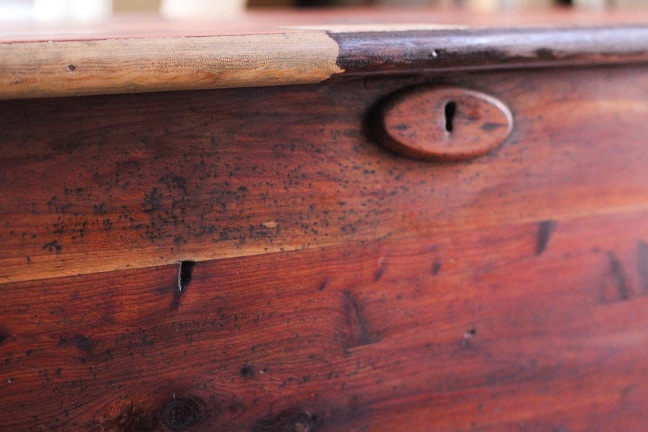 |
For the sallow colored trim, I discovered that Minwax made stain pens with which I could essentially Sharpie my furniture. I picked the Red Mahogany color and even though it didn’t stain perfectly even, probably because I’d oiled it first, it gave the illusion of natural wear over the years.
Finally, I waxed the chest with Feed-N-Wax (because other people said to) and hoped that I was done.
The Real Finish
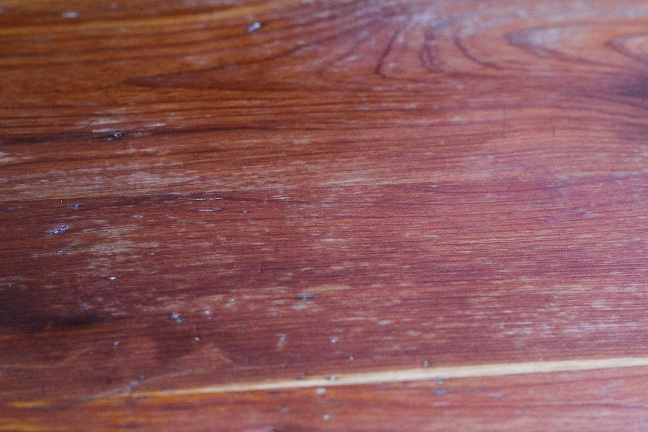
Unfortunately, even after the wax had dried, there were still noticeable parts of the lid that looked ashy/greenish/blah. Annoyed but determined, I found some 60 grit sandpaper in the toolbox and started sanding my little heart out. Not only did the sanding clear up the discolorations, it actually brought out more the wood grain than I expected.
 |
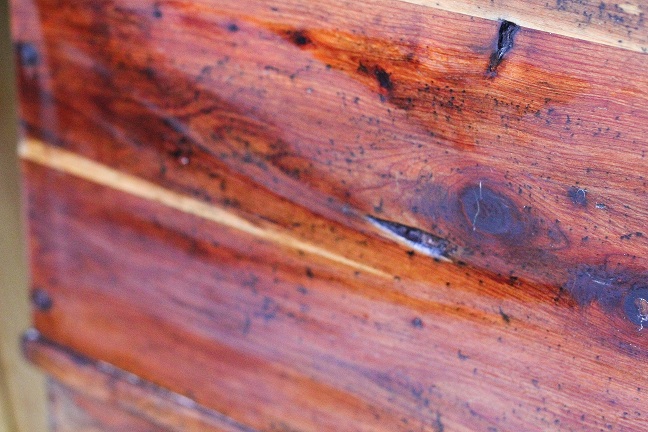 |
I’m halfway done with sanding and kicking myself that I didn’t do this earlier. What can I say, I’m an idiot perfectionist. The current plan is to try out a power sander and then oil it back up sans annoying imperfections. I might hold off on the waxing though, it dries matte and I’m not sure I like it. I know I’ve sanded away the shine, but I’m making the prettiest goram chest I can, even if I have to backtrack.I started this project having no idea what I was doing, but at the end of the day it’s all trial and error whether you have a manual or not. Just accept that you might screw it all up… or you might not. I’m still figuring it out.
Extra Credit: Apparently, to avoid spontaneous combustion, this is how you dispose of oil soaked rags:


