Due to office reorganizations and cross-country moves, I’ve worked in seven different office spaces in the past four years. None of them had similar layouts or color schemes, and all of them had different sets of supplies. Through these moves, I’ve put together a few strategies to add a little personalization to a space that is built to be one-size-fits-all.
Personalizing my office has some serious benefits for me: I stay more committed to the job because I feel at home in the space. I am happier to be at work because I am surrounded by things that make me happy. People who come to my office get much more of a sense of my personality and probably remember me better, because I make my space bright, cheery, and inviting. Also, I am way more motivated to keep my desk clean when it is cute and cheery, rather than covered in piles of paper. I even dust when I feel a little ownership over my space.
For my current office, I took on a few simple projects that made a big impact on my space. My hope was to infuse some color, happiness and whimsy into the area that I look at for eight hours a day—but I wanted to keep things simple so that I didn’t use too much work time setting it up. Most importantly, I am a university advisor, and sensitive issues often come up when I am meeting with students. I always want my space to be as inviting as possible. I want people who come in my office to feel like they know me, at least a little, from the moment they sit down.

Before
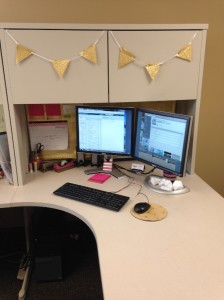
After
My before picture is blank, uninviting, uninspiring, and cluttered.
The after is much better. Glitter! Pink! Gold! Coordinated! Neat! More functional! Common theme! I actually enjoy working in my space more because it is so bright and fun. The office is still beige, and I can’t swap the furniture, but it feels great to have things be a little more personal.
Going through these projects, there were a few things that stood out to me as being really important to avoid frustration. First, choose a color scheme early. If I were really smart I would’ve used my school’s colors, but instead I just chose colors that I really like (side note, does glitter count as a color?). Second, make sure everything is temporary. I can rip all the washi tape off cords super easily, so if anyone gets a bee in their bonnet, I can take it all off. Third, make sure to stretch your materials: this will keep costs down, and is an easy way to keep things looking coordinated.
If there are any aspects of your office that actively bother you, change those first. For me, it was the stupid butterfly mouse pad left by the last person to use my office. Not only did it make me look like one of those women who is obsessed with butterflies, but it was also covered with ballpoint pen doodles, which I felt made me look unprofessional and sloppy. When I ditched that stupidity for my DIY, subtle, and in-theme mouse pad, I felt about a million times better. It might be superficial, but I no longer felt like I was projecting cat-lady whenever I met with someone.
Most importantly, consider both form and function. The washi tape on my cords is all about cord management, so that I don’t have a tangle of black cords on my desk. It was a huge plus that they came out so cute! If you don’t use a calendar, don’t hang one up. If you hate getting glitter all over everything, I suggest you choose materials accordingly. It’s worth noting that I hung glitter wrapping paper on my corkboard behind my monitors ten days ago, and I am still finding glitter in my purse, on my clothes, and sometimes in my hair. This doesn’t bother me, but it might bother you.
Don’t forget that implementation is critical. You definitely don’t want to spend a bunch of time at the office making these things, because then your boss might see you as less committed, rather than more. On the other hand, you don’t want to look like you are stealing office supplies, so you have to be a little strategic about how you prepare for your upgrades. I made the mason jar, bunting and mouse pad at home, and then spread the washi tape application and paper gem making over three or four lunch breaks. For the glitter background, I stayed about ten minutes late to take everything down from my corkboard, and the next day came in about 15 minutes early to hang the backing and put back my papers.
Here is the breakdown of what I did in my office, with links to tutorials:
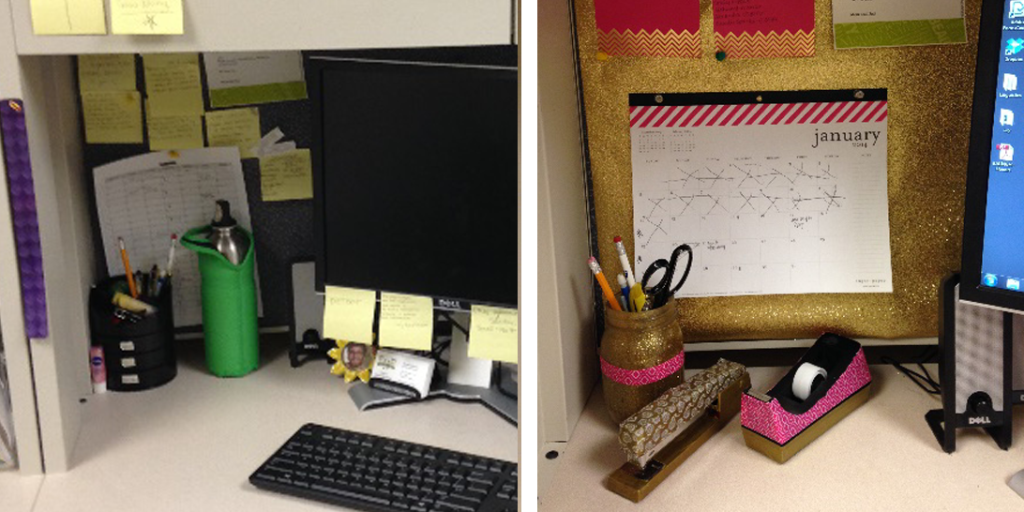
Before and After
I swapped the supply tower for a glitter pen jar, because I never use those supplies and that tower was just ugly. I covered my tape dispenser and stapler in washi tape, added a new calendar, took all the info off sticky notes and put it on cute stationary, and a hung glitter wrapping paper on my corkboard for a seriously sparkly background.
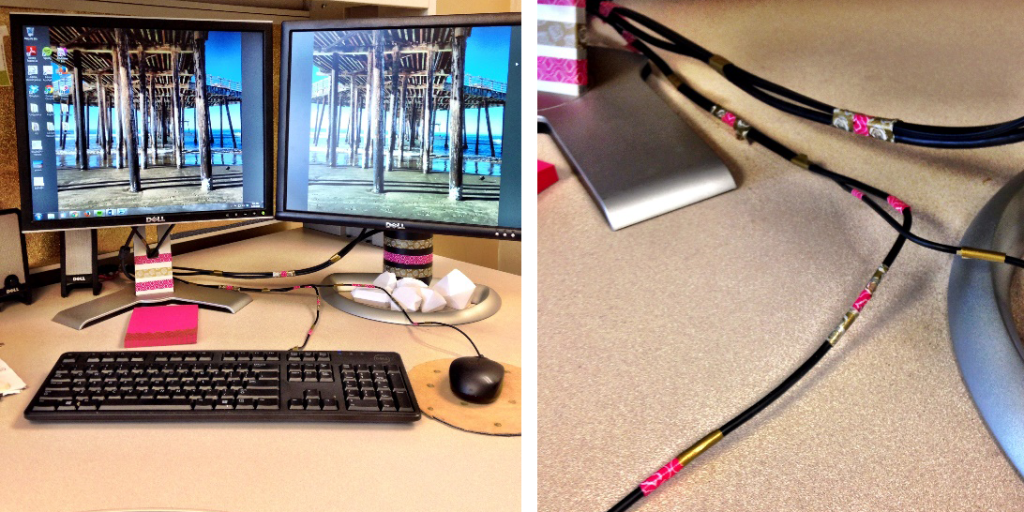
I controlled my cords, and added a little pop
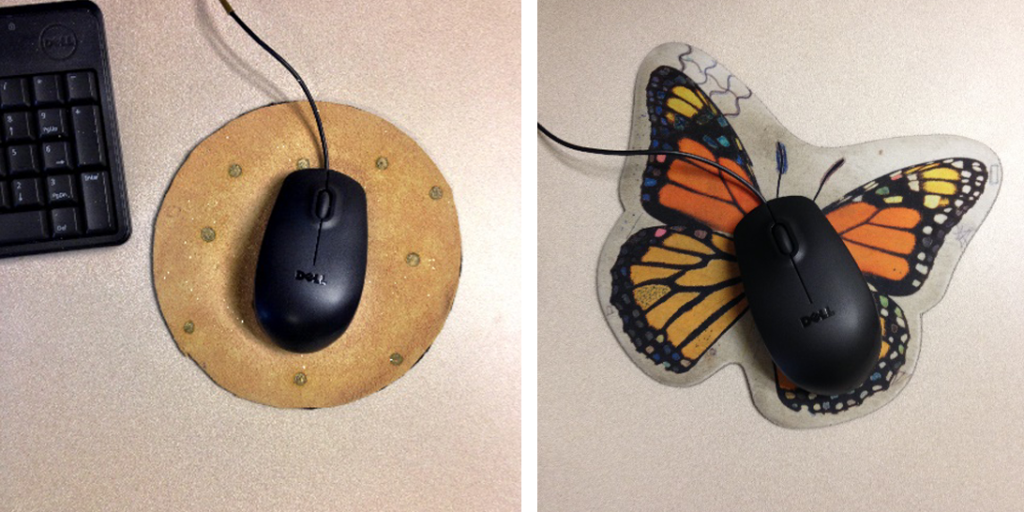
No more cat lady mouse pad!
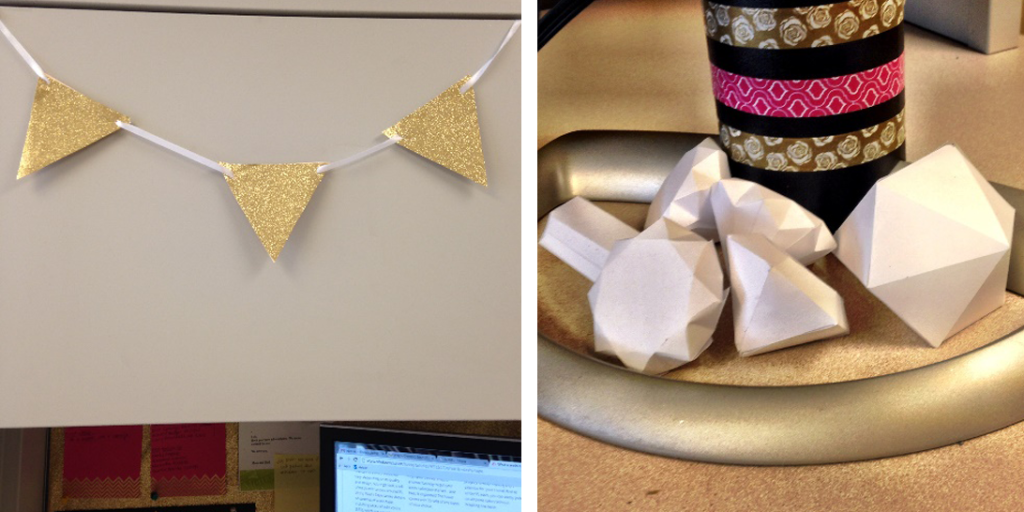
Hung some adorable glitter bunting and created a Paper Gem Garden.
All in all, this cost me $35. Here is the budget breakdown (any repeated or free item marked with an asterisk):
| Project | Supply | Source | Cost |
| Bunting | Glitter Wrapping Paper | Michaels | $3.00 |
| Mod Podge | Michaels | $3.00 for a small bottle | |
| 2 File Folders | * | * | |
| Ribbon | Michaels | $1.00 for 20 yds | |
| Corkboard Background | Glitter Wrapping Paper | * | * |
| Staples | * | * | |
| Calendar | Pre-made | Target | $1.50 |
| Paper Gems | Printer Paper | * | * |
| Mod Podge | * | * | |
| Washi Tape Cords, Supplies | Washi Tape, Three Rolls | Target | $9.00 |
| Glitter Mason Jar | Mason Jar | Target | $2.00 |
| Modge Podge | * | * | |
| Glitter | Michaels | $2.00 | |
| Washi Tape | * | * | |
| Mousepad | Basic Mousepad | Target | $1.50 |
| Leather Piece | Michaels | $6.00 | |
| Mod Podge | * | * | |
| Gold Paint Pen | Target | $1.00 | |
| Paper Pad | Pre-made | Local Stationary Store | $5.00 |
| TOTAL | $35.00 |
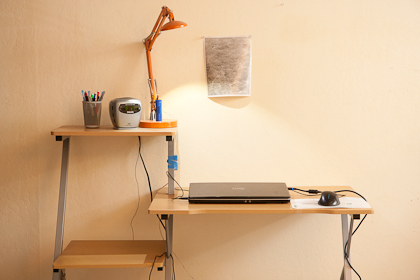
Photo by Andy Sutterfield
