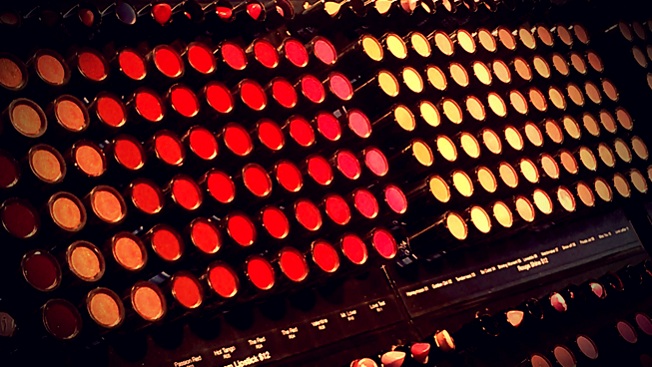
Lipstick can be difficult. You’re going for a sultry pout or flirty hot pink, but according to the mirror at the end of the night, you look like a 6-year-old caught playing with mom’s make-up. Not cool!

Photo by Sara Slattery
Here are some step-by-step instructions to get long-lasting, even lip color. I’ve also included some product recommendations (focusing on affordable options, because $30 for one tube of lipstick usually isn’t exactly budget-friendly)!
This article is specifically for lipsticks. Lip glosses, stains, balms, and translucent lip colors will probably not get the best results. But, if you want to try it, go ahead! We’d love to hear your results in the comment section.
Warning: Please spot-test before trying new products, because you never know how your skin will react to them! Put a dab of a new product on your inner forearm and wait a few minutes to see how you react. For people with sensitive skin, it may be wiser to wait a full 24 hours. If you’re allergic to anything, always read the labels!
1. Exfoliate
Exfoliating clears your lips of dead skin that can catch on to lipsticks, making them bleed or flake. This can be easily done with stuff you have at home: mix equal parts oil and brown sugar until you get a paste, then scrub your lips! You can use coconut oil, olive oil, jojoba oil, or any kind of oil you might use on your skin. Wait a minute to let the oil sink in to your lips before moving on to step two. Rinse off with water, and voila! If you don’t have brown sugar, you can also scrub your lips with a bit of oil on a clean toothbrush or washcloth.
You can also buy lip scrubs, but they can be costly. Try not to use a body scrub, as they are harsher and can tear the skin on your lips! This could lead to flaking or infections.
Check out some popular lip scrubs from Sephora, Fresh Sugar, and Lush.
1a. Prime (Optional):
If you’re feeling extra fancy, you can use a lip primer or a foundation to even out your skin tone. Primer can be used under or instead of lip liner.
Some great primers can be found at Eyes Lips Face and Urban Decay.
2. Line
Using a lip liner, fill in your entire lip. Yes, your entire lip: not just the edges! This gives your lipstick more staying power. If you wanted to make your lips appear fuller, now would be the time to line slightly outside the line of your lips.
The liner will even out your lips. If you have visible veins or dark lips, use a beige or lighter colored liner, especially under bright lipsticks. This will help your lipstick look more opaque. You can also match the liner to the color of your lips or to your lipstick itself for slightly different looks.
Popular lip liners are sold by Wet ‘n Wild, Maybelline, Rimmel and MAC.
3. Moisturize
Because it sticks to your skin so well, lip liner can be drying. If you have particularly dry skin or your lips start to flake, try a simple balm over your liner. Anything you get at the drugstore works, but make sure it’s clear and not tinted!
Much-loved moisturizers are available from Burt’s Bees, NIVEA, and Chapstick.
4. Color
Time for lipstick! Carefully apply the lipstick. Do a few layers, and then rub your lips together.
Picking out lipsticks can be fun! L’Oréal is a classic drugstore brand, while MAC is very popular but more expensive. Wet ‘n Wild is a great way to try different colors on the cheap. Revlon has popular matte lipstick and moisturizing, buildable lip butter.
5. Blot
Take a clean washcloth or tissue and carefully press it to your lips, as if you’re giving a kiss. Just once! This creates a deeper stain.
5a. Powder (Optional)
If you want really long-lasting color, you can apply translucent powder to your lips at this point. I don’t particularly like what this does to the texture of my lips, but it does work! With a finger, press a small amount of powder all the way around your lip. Let it set for a minute. Remember, only use translucent powder—a skin-toned powder will take away from the lipstick’s color!
New York Color and Sally Beauty offer translucent powders.
6. Brush
This is where lip brushes come in! Transfer color from the lipstick palette or tube to your lips with a lip brush, making small, even strokes parallel to your lips. For some reason, the staying power using a brush is much longer than swiping it on, so this is definitely worth your time!
Eyes Lips Face has a lip defining brush and retractable lip brush, and Ecotools offers a detailed lip brush and multipurpose brushes. Both are affordable, quality options.
6a. Matte, Glossy, or Full? (Optional)
If your lipstick isn’t matte already and you are going for a matte look, blot your lipstick again.
If you want glossy lips, you can apply gloss over your finished lipstick. This looks especially nice with creme finishes, because pearl and frost finishes already have some shine to them.
To make lips look fuller, apply a gloss or a lipstick one shade brighter to the center of your lips. Blend outwards with your finger or by rubbing your lips together.
7. Clean-Up
You’re probably in front of a mirror, so check your teeth to make sure you didn’t get any lipstick on them! If you are re-applying your lipstick on the go, you can stick your index finger in your mouth past your teeth, and then pull it out against your lips, like eating a Popsicle. This takes color off your teeth and the inside of your lips, guaranteeing a smudge-free smile.